Overview
Manufactured Ironman Helmet based on online tutorials to garner experience in 3D printing, the finishing process, and circuitry.
Problem
Put together an Ironman Helmet for personal interests!
Implementation
Step 1: Printing
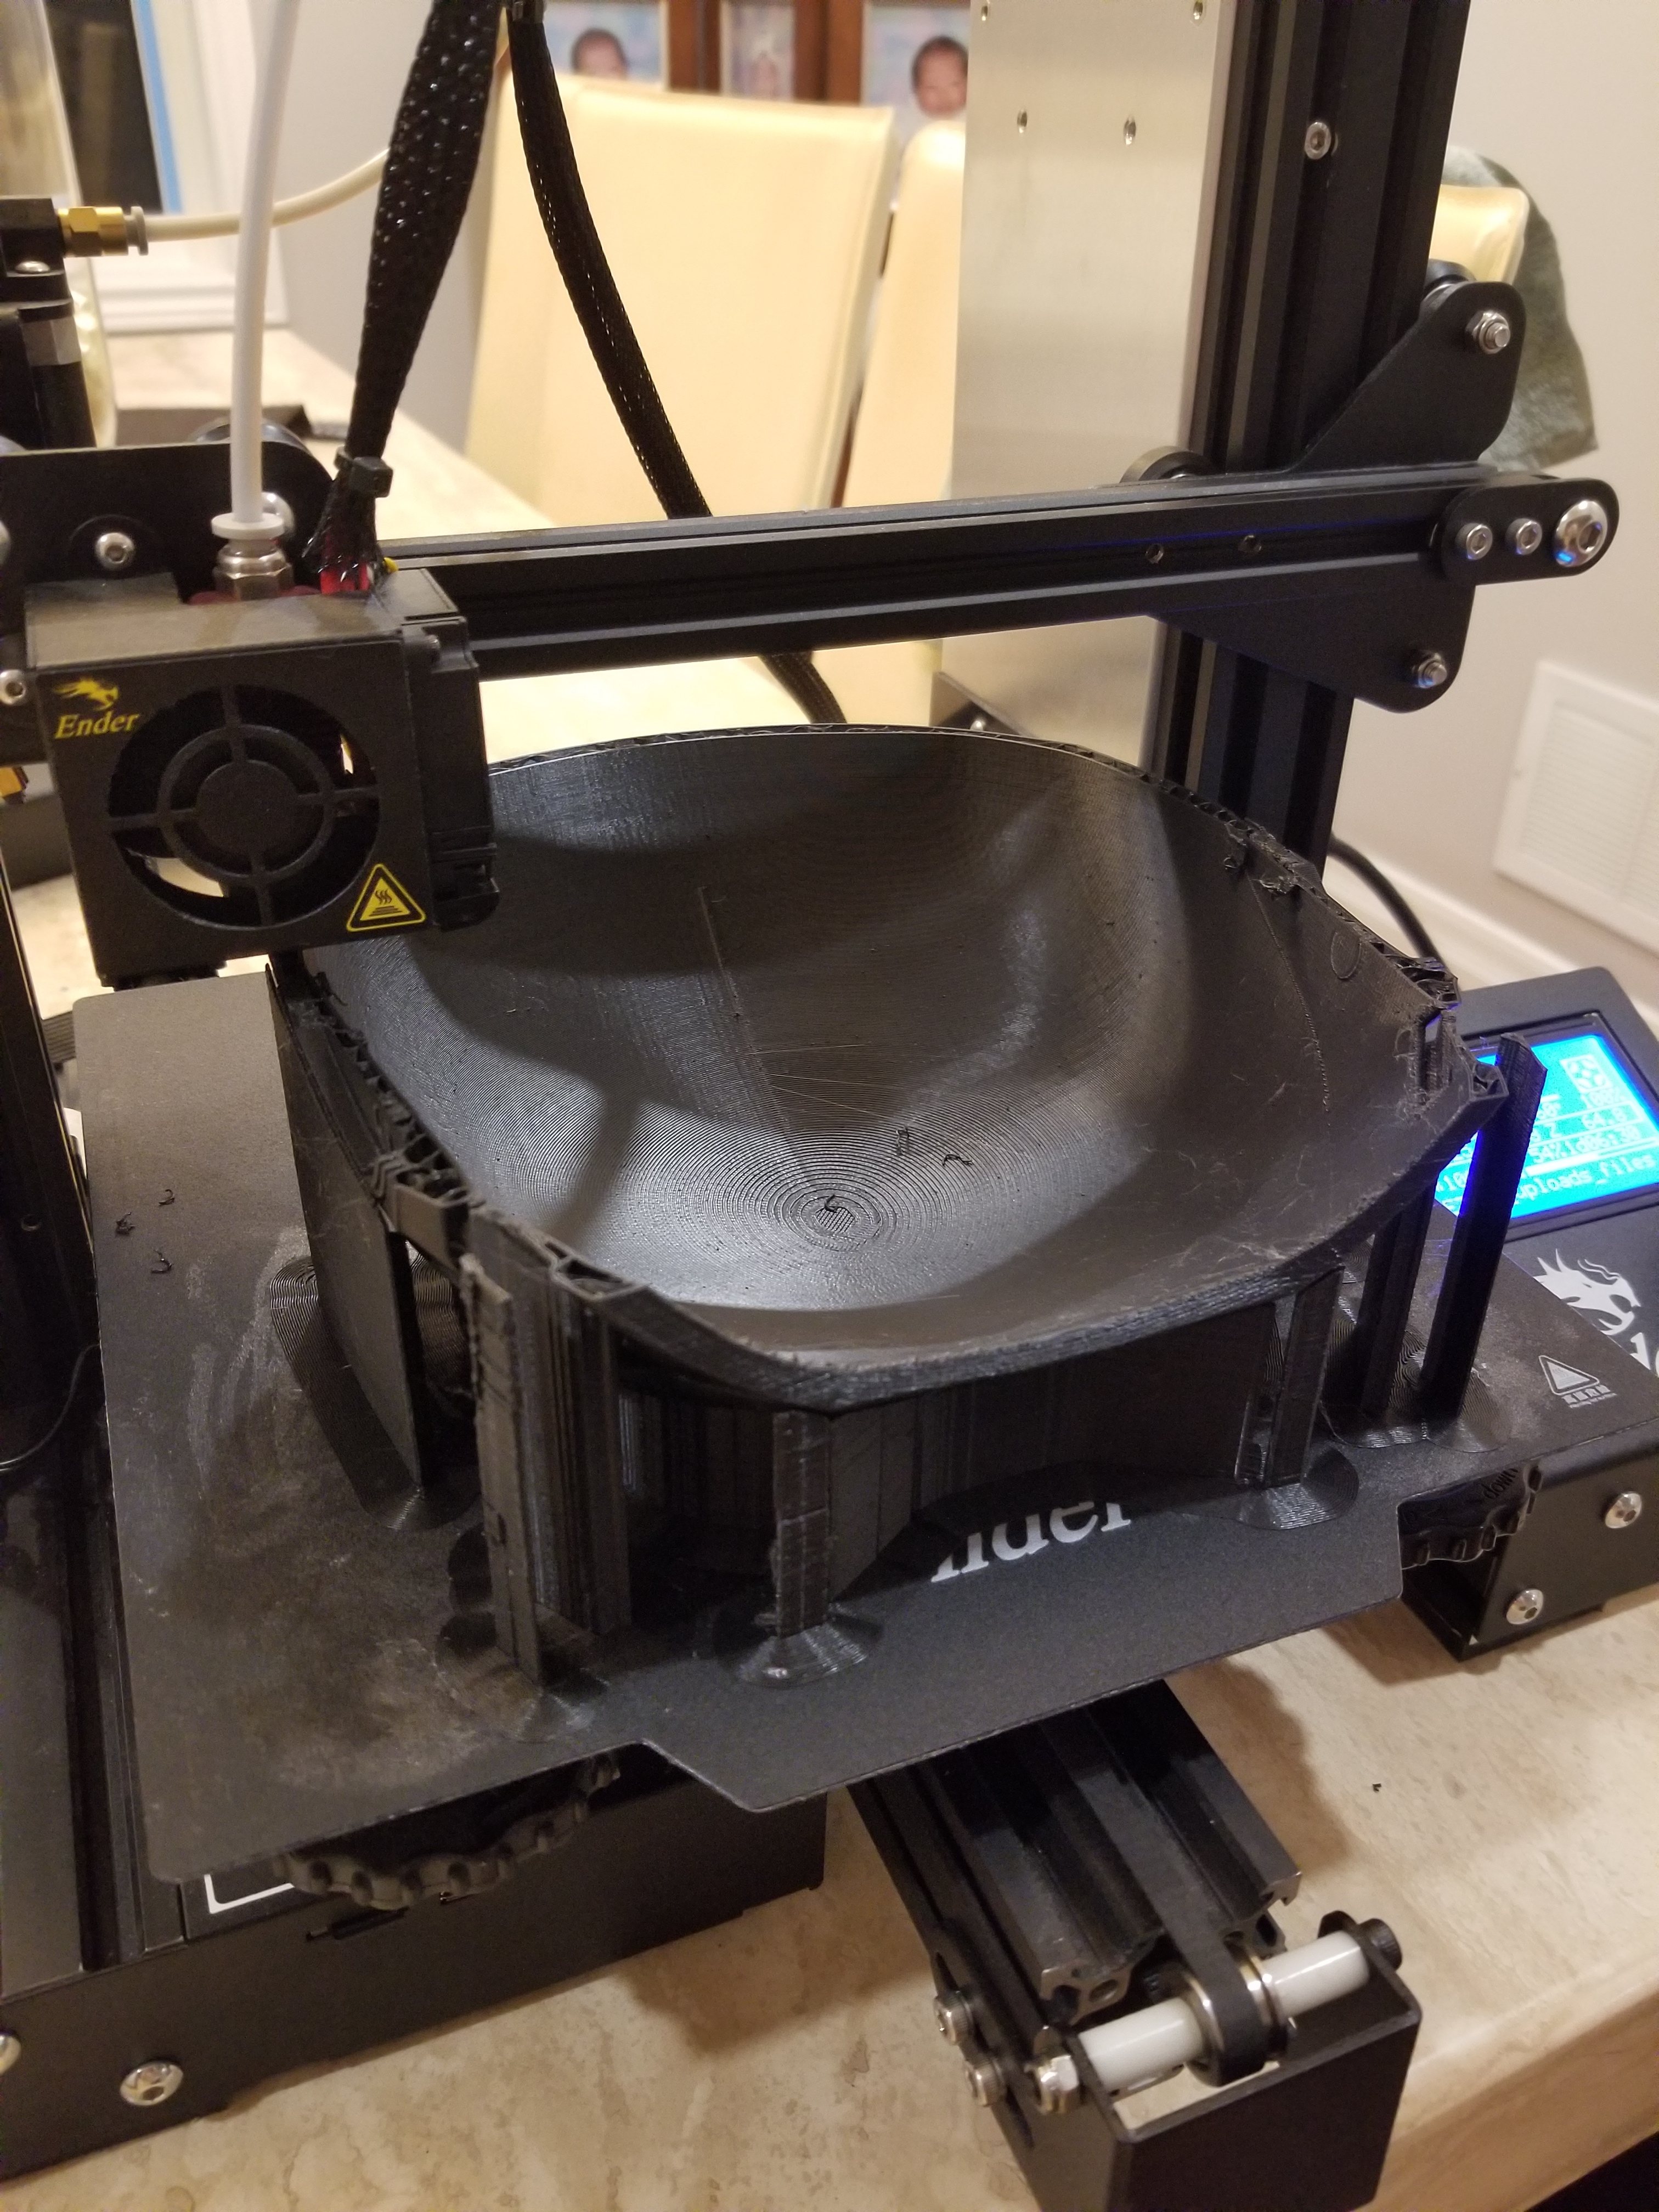
I started by experimenting with various 3D printing parameters on Cura Slicer—print speed, support and model infill, and print orientation.
A print speed of 60-70 mm/s yielded consistent results. Support and model infills of 2-3% were used along with the gyroid infill geometry—very low yet yielding strong parts while keeping print time down.
Print orientation was crucial. The helmet is a large bowl shape. I had to consider that printing right-side up would cover the inside with supports, but printing upside-down limited support generation at the cost of some quality loss on top.
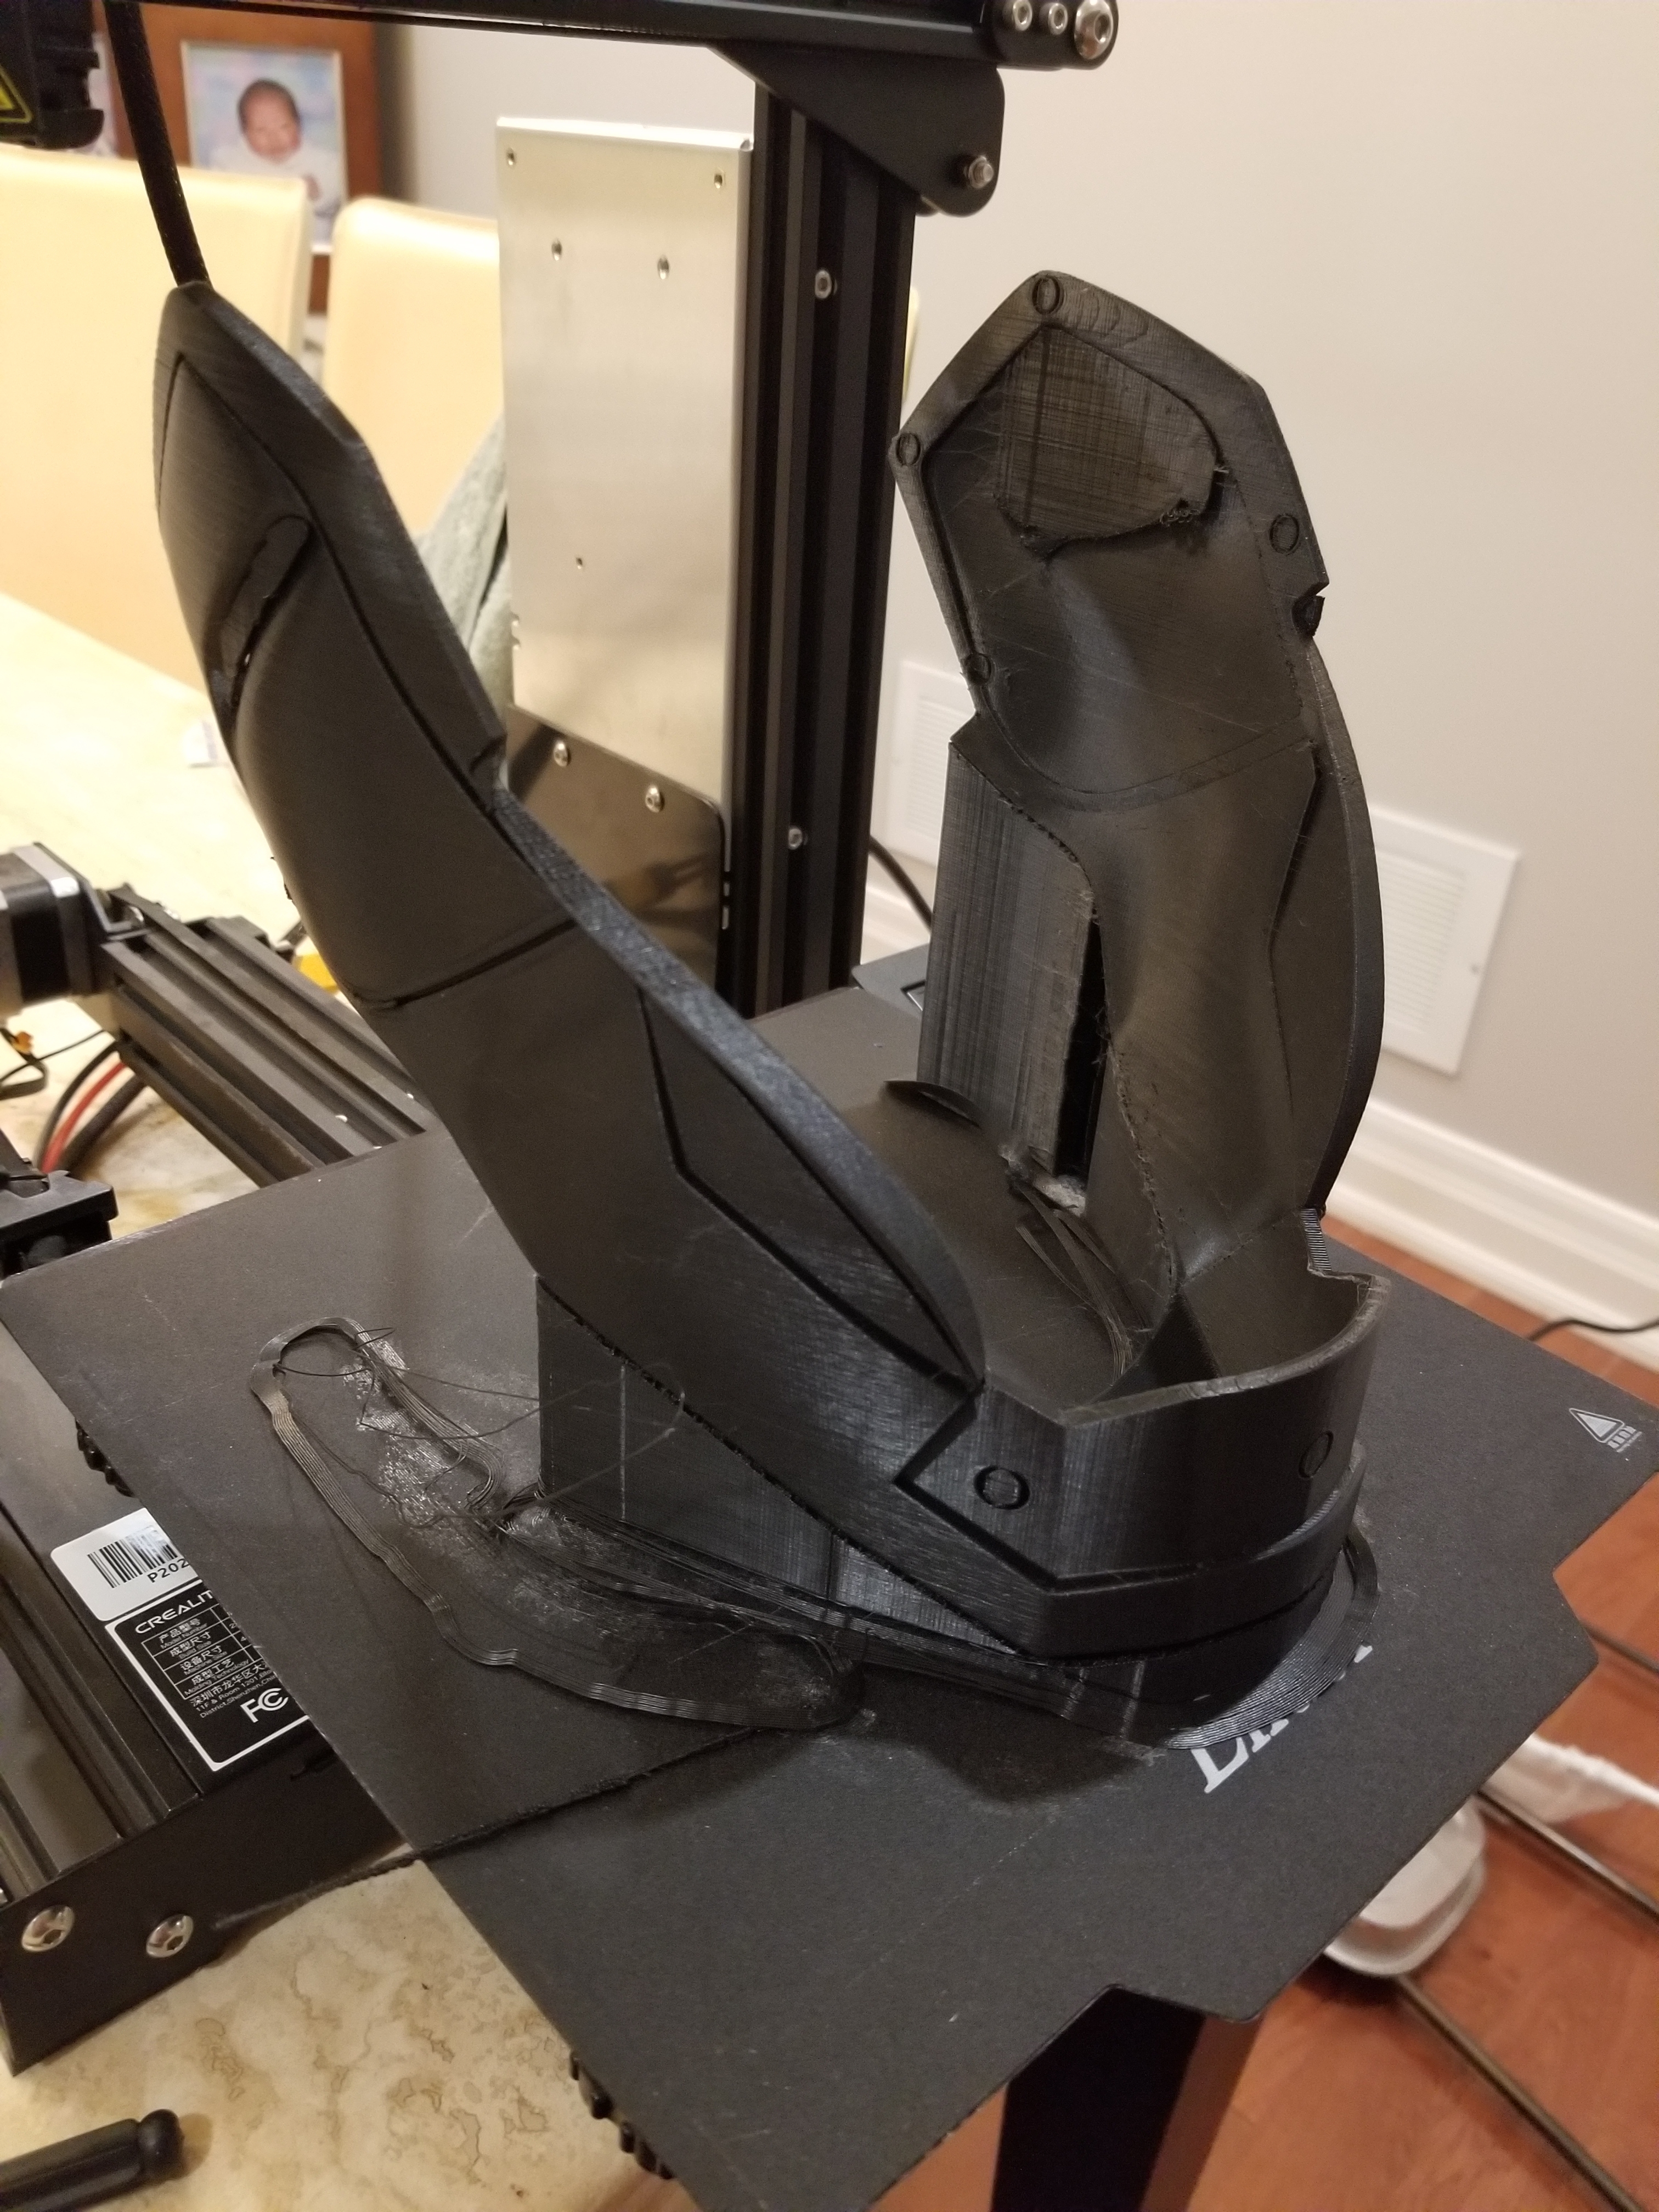
Step 2: Finishing
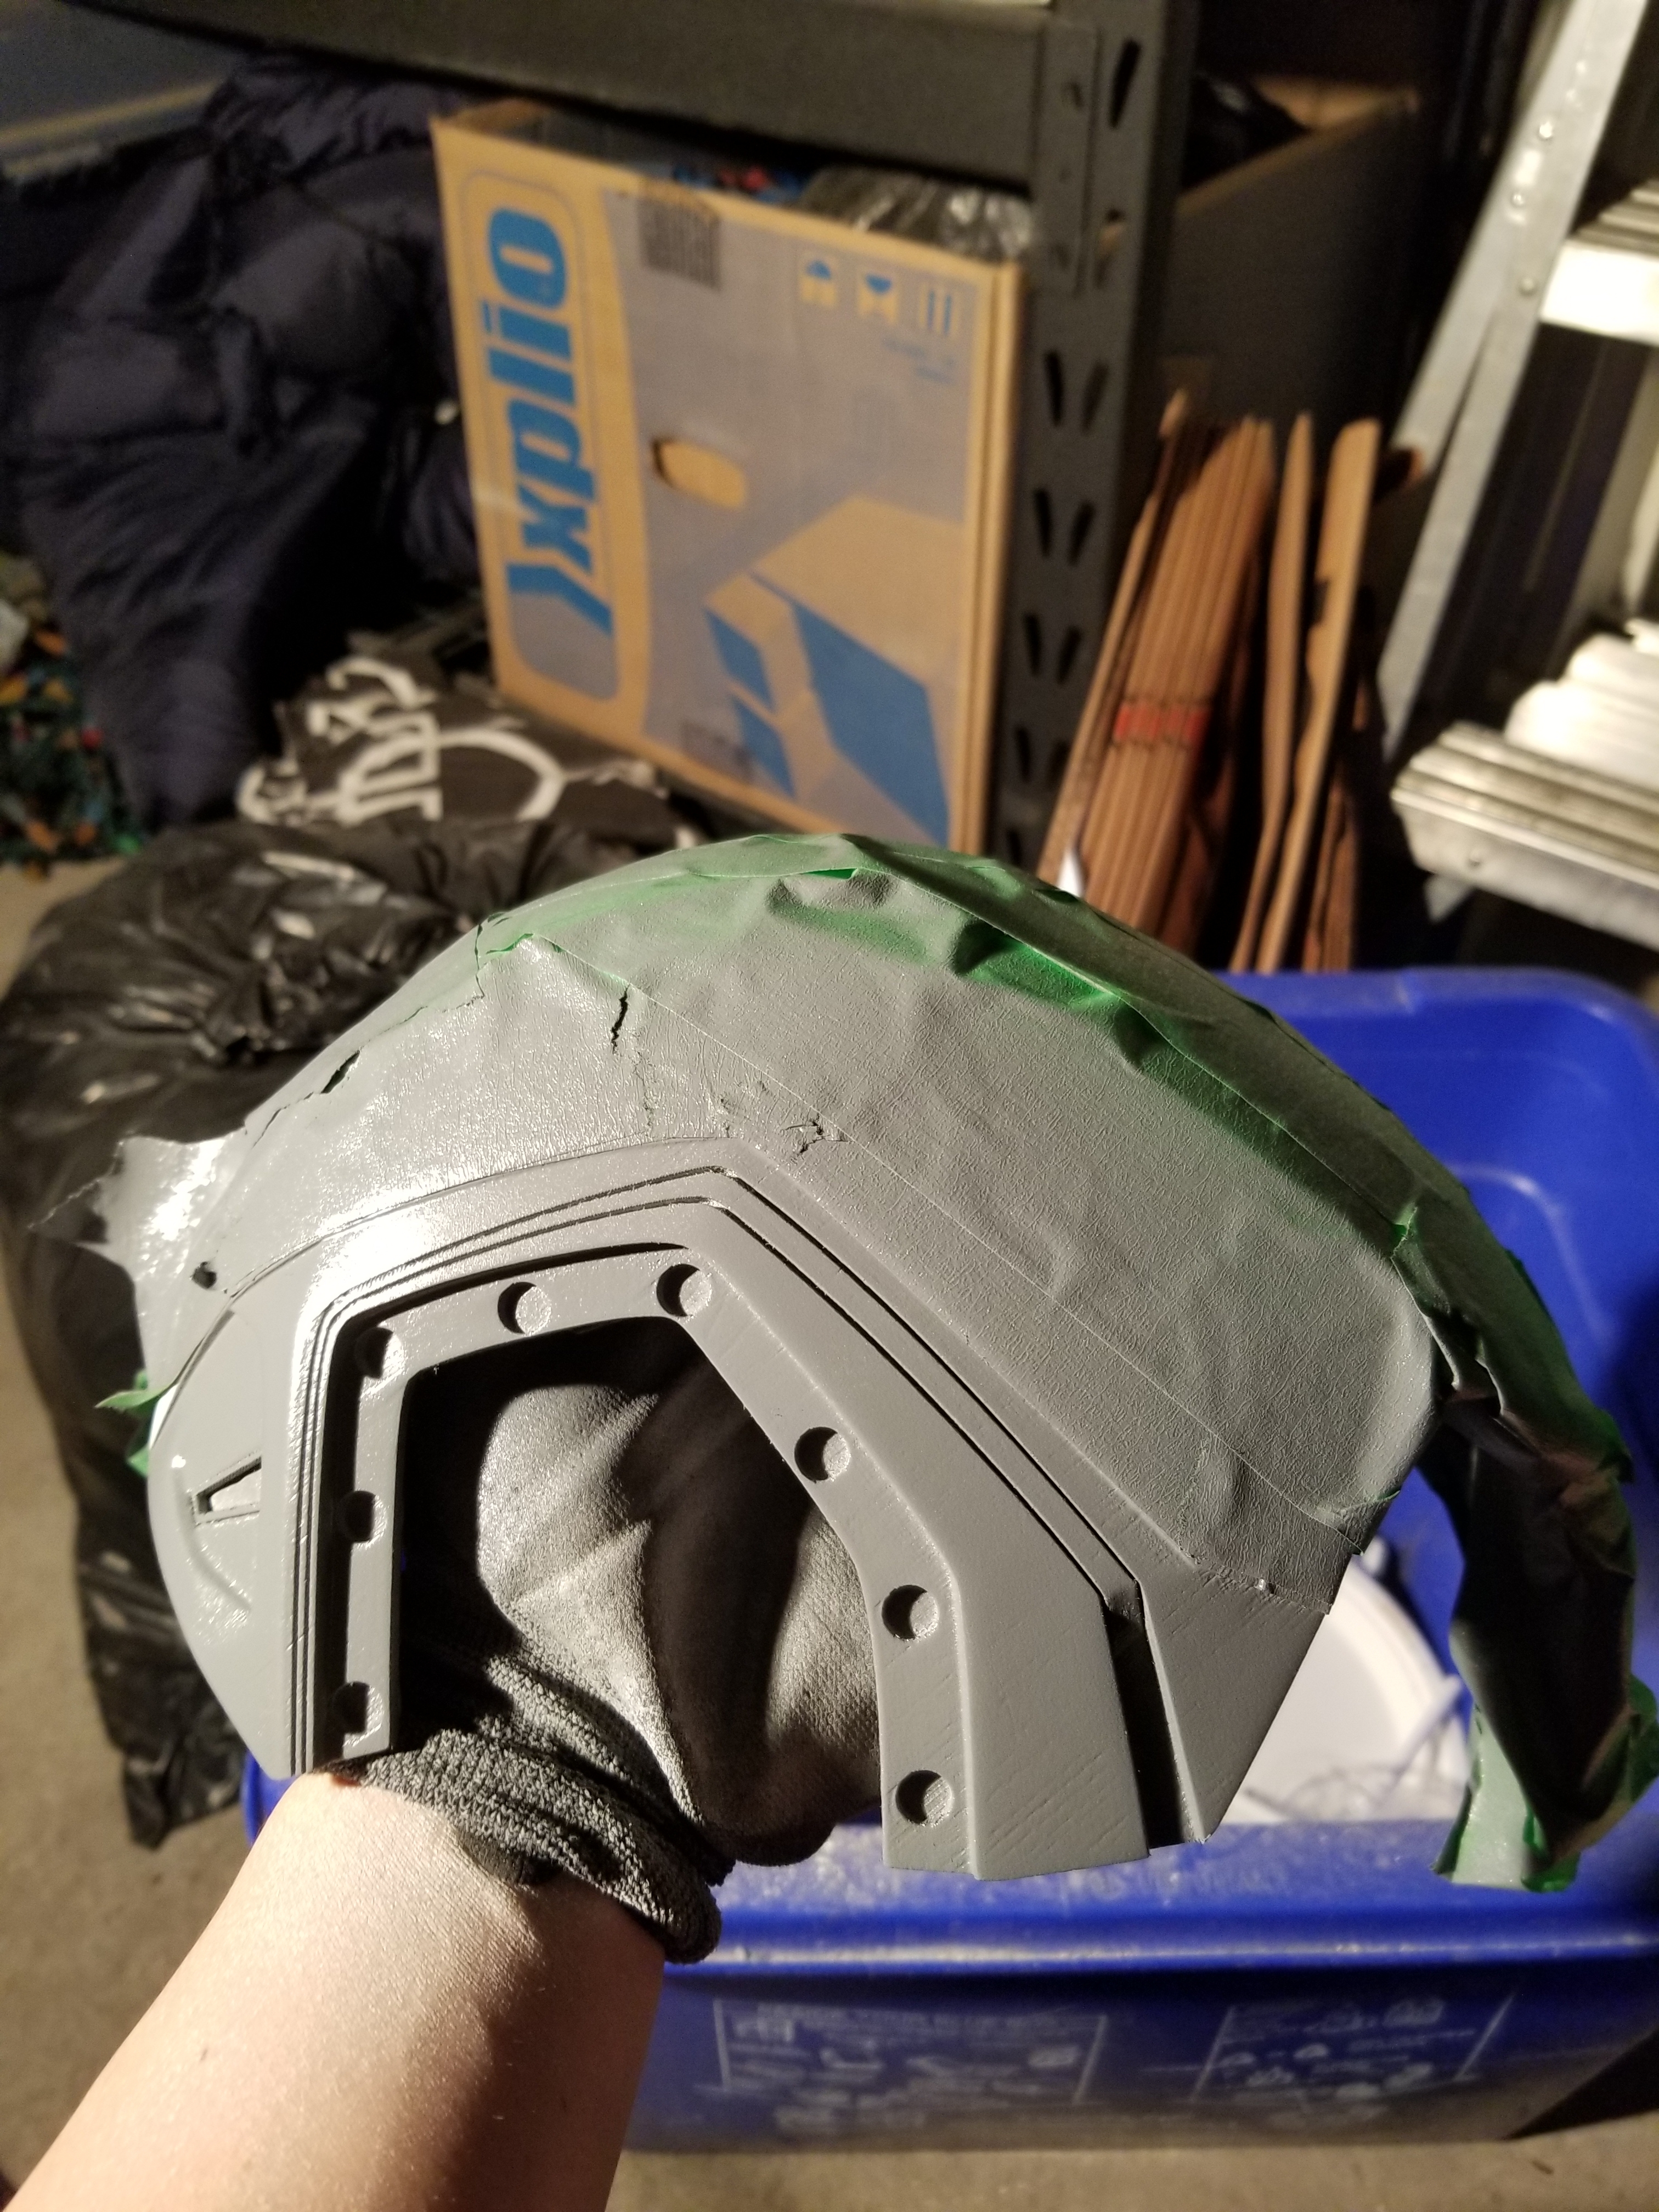
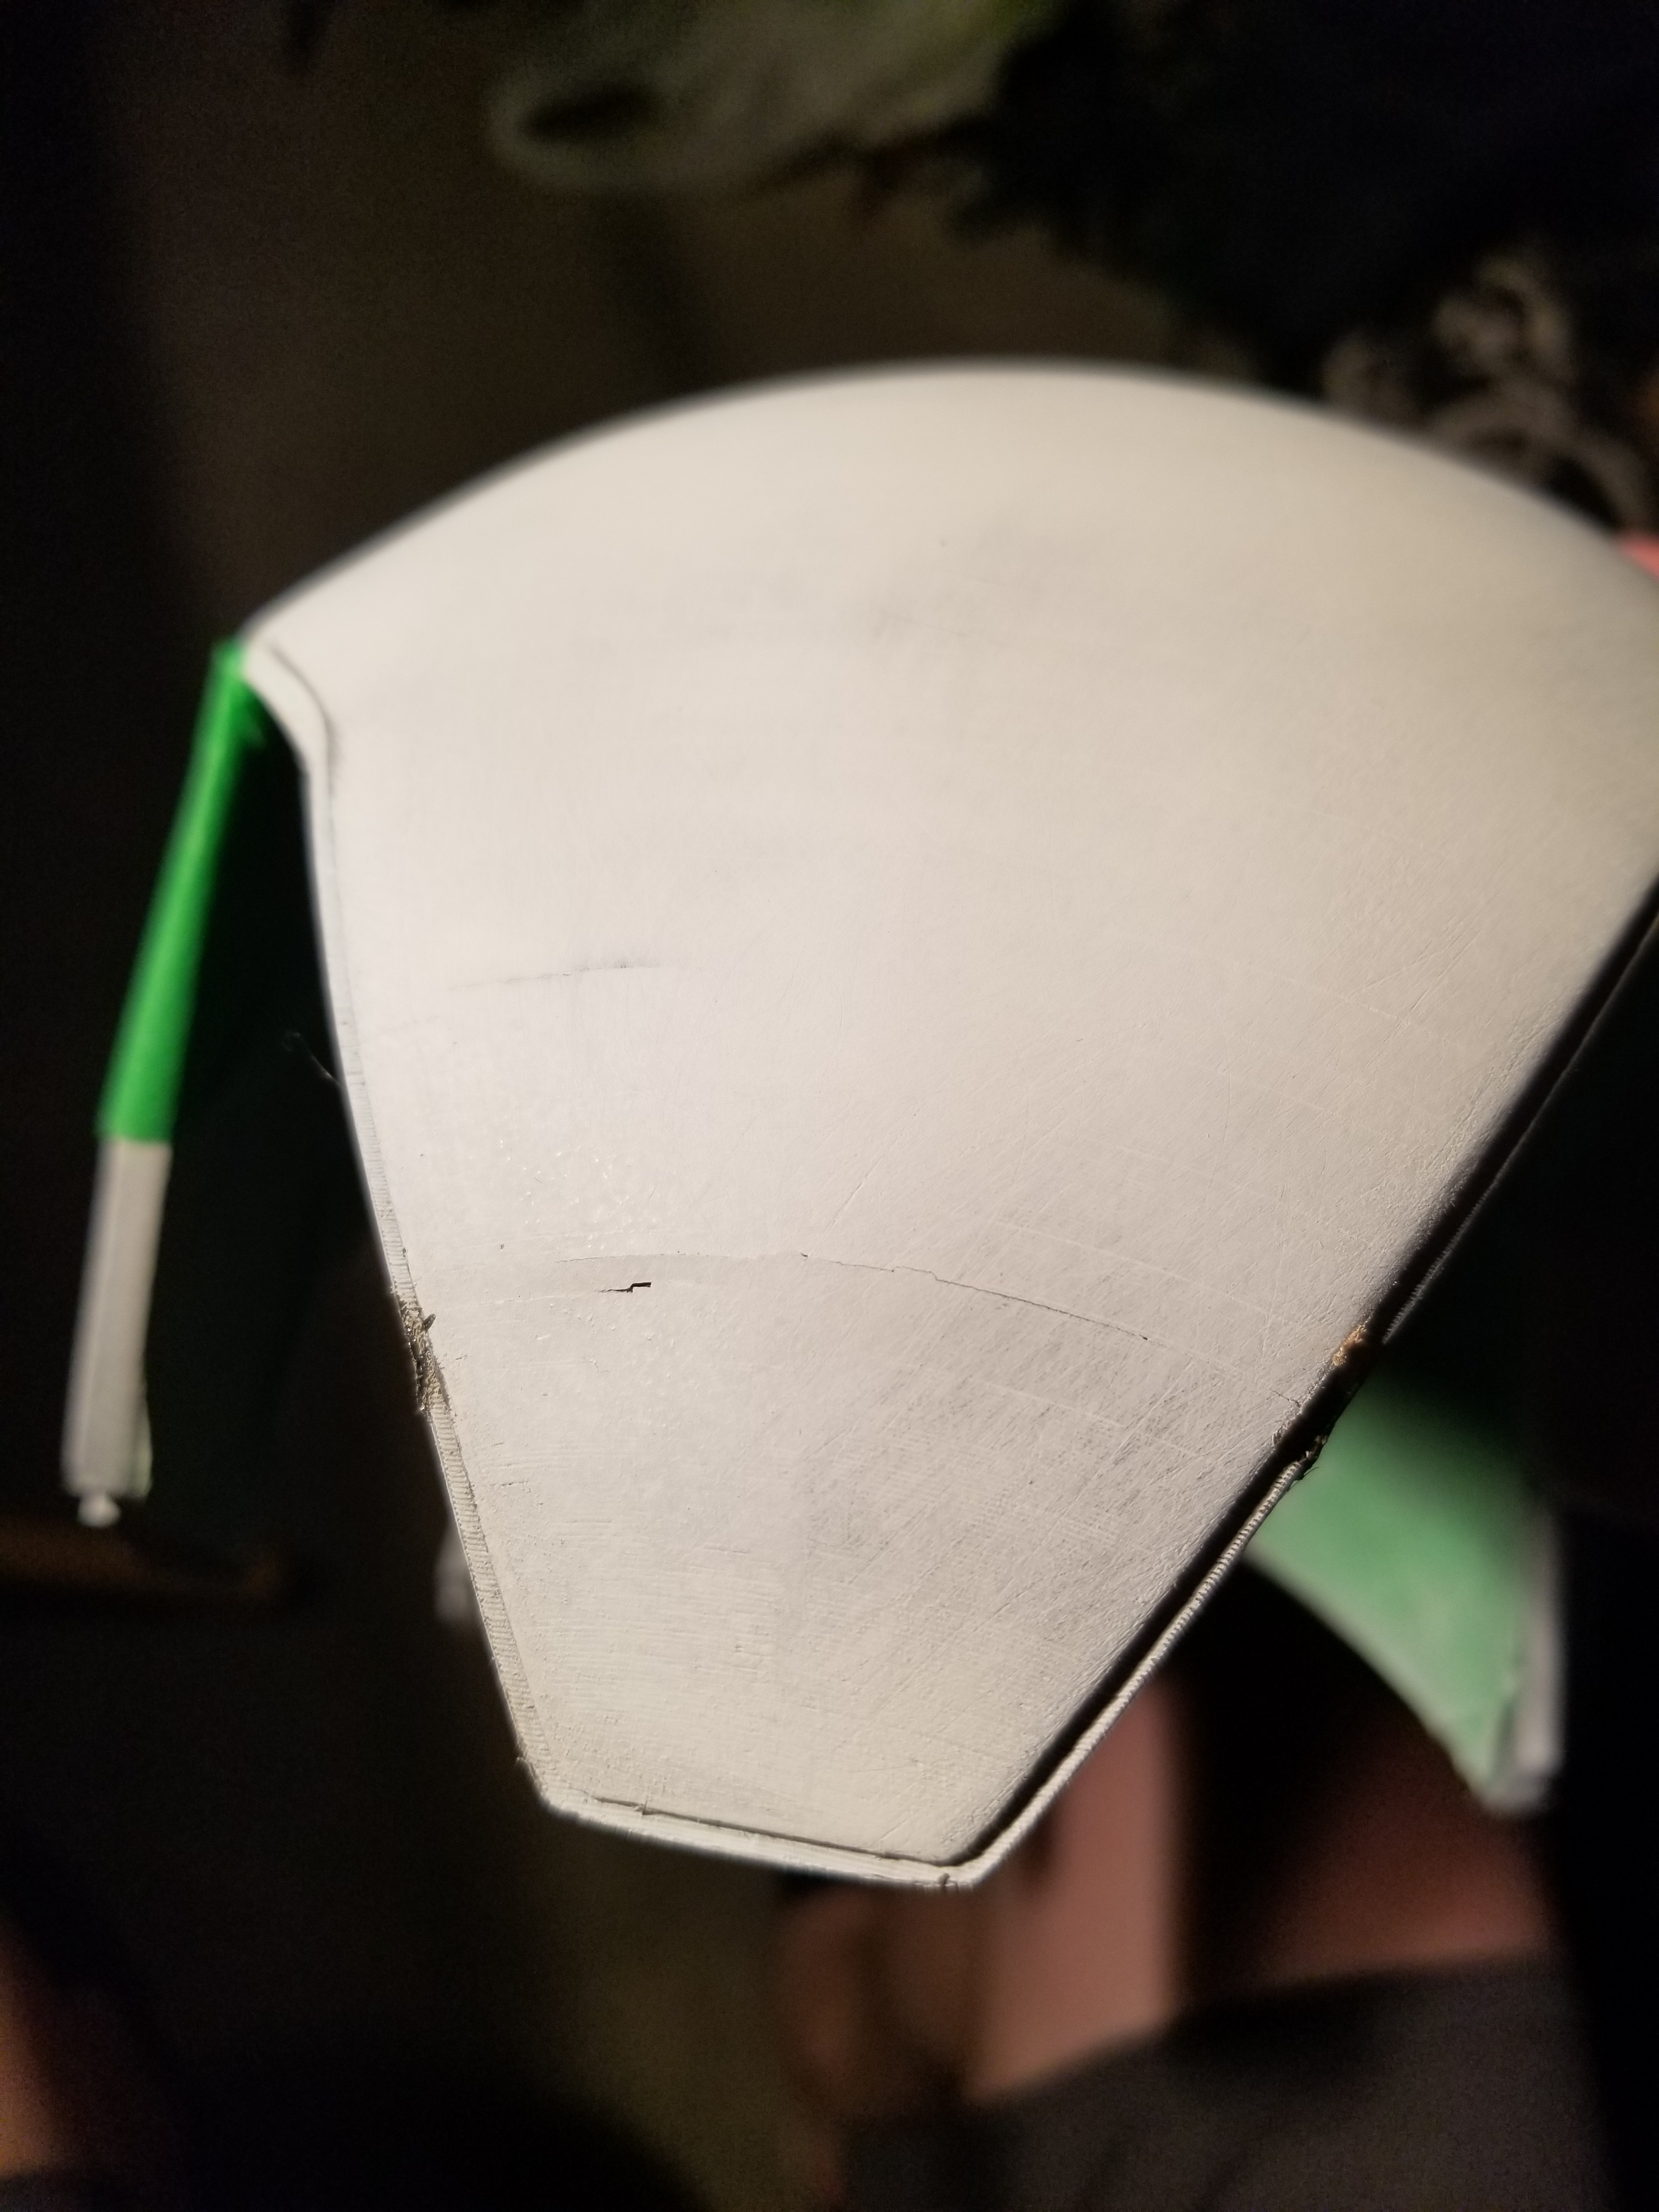
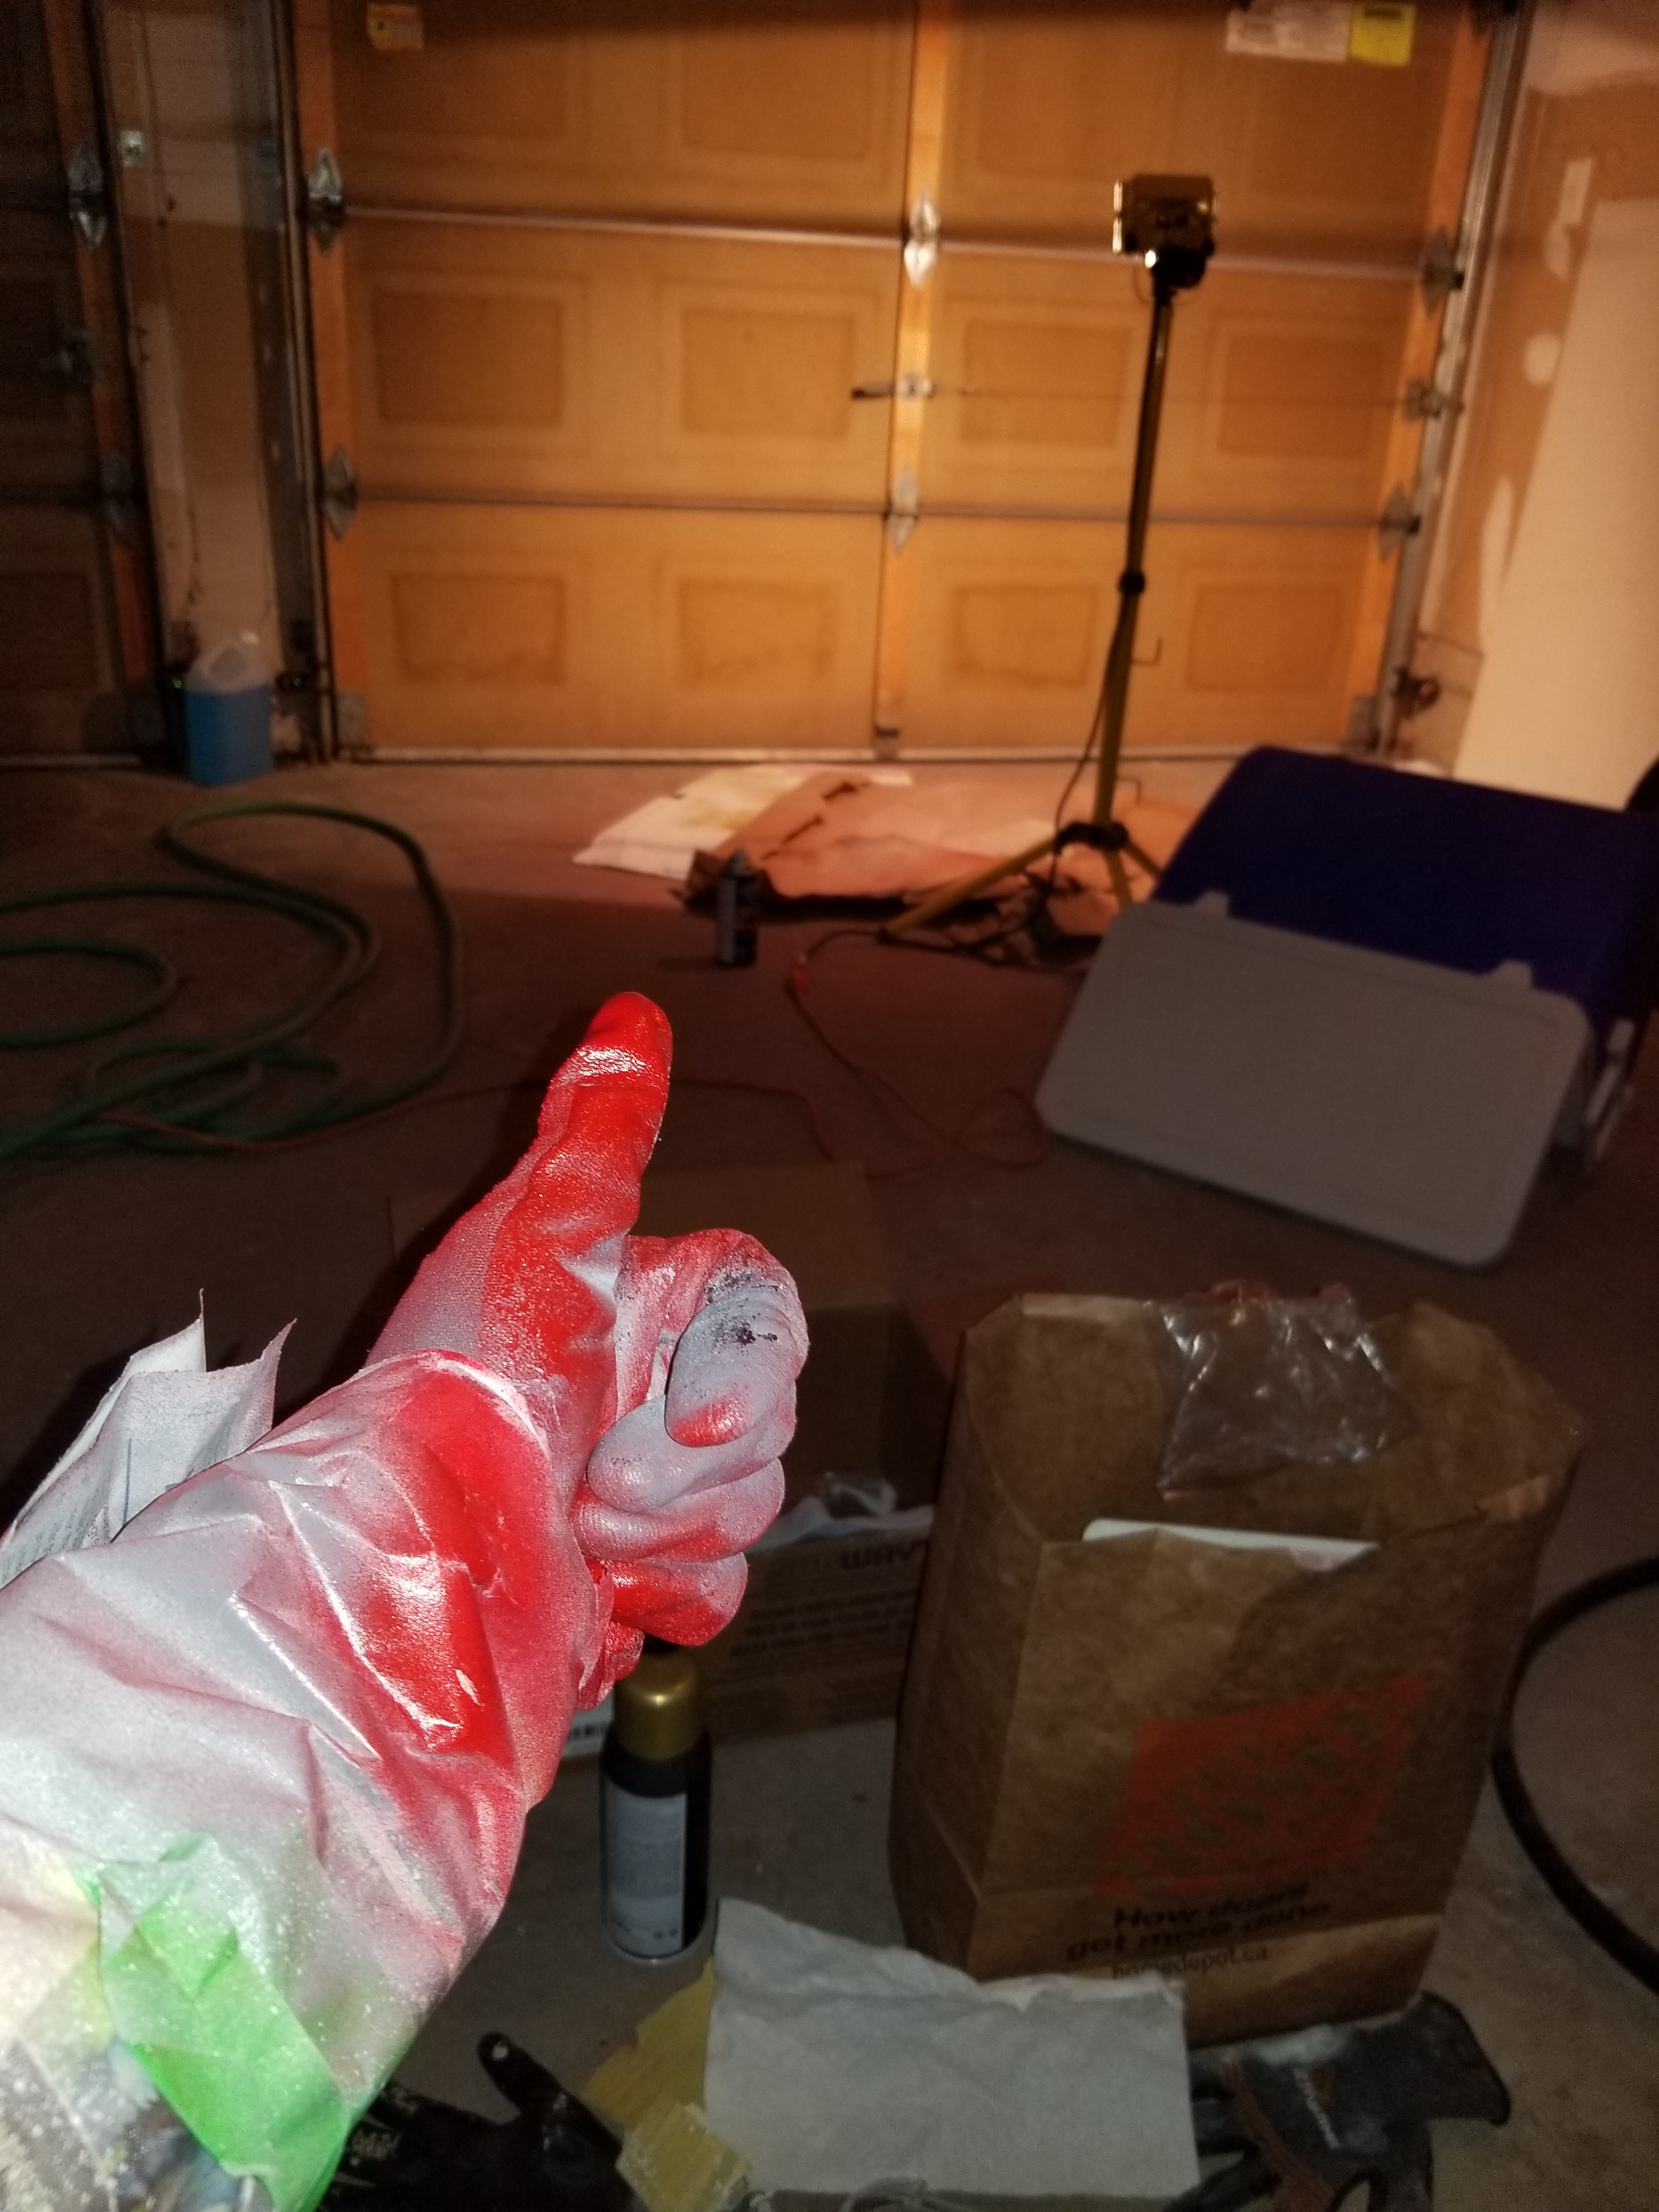
The pieces had to be sanded, primed, then painted. Sanding is arguably the most important step—what you put in during this stage is what you get. I started with 60 grit sandpaper to diminish print lines, then up to 200 and 300 for a smooth finish.
I used filler primer which fills small cracks, then wood filler for remaining impurities from the printing process. Spray painting was the fun part—playing around with colour combinations at Home Depot!
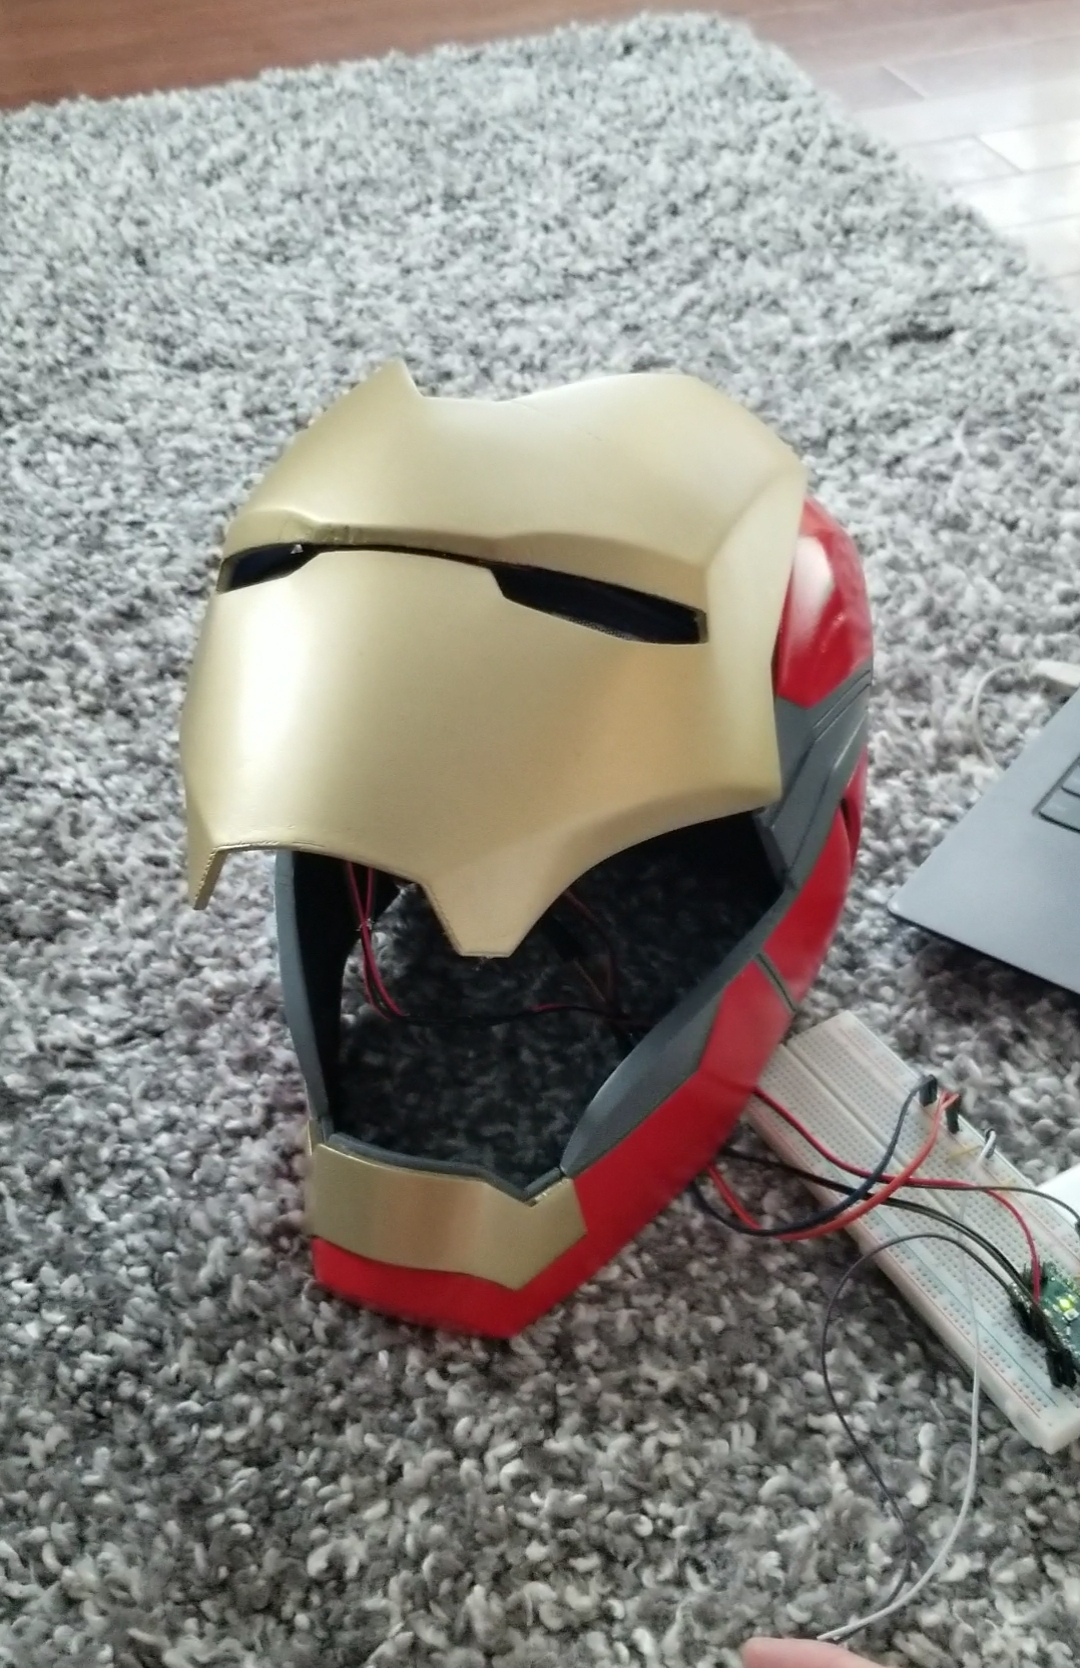
Step 3: Electronics + Assembly
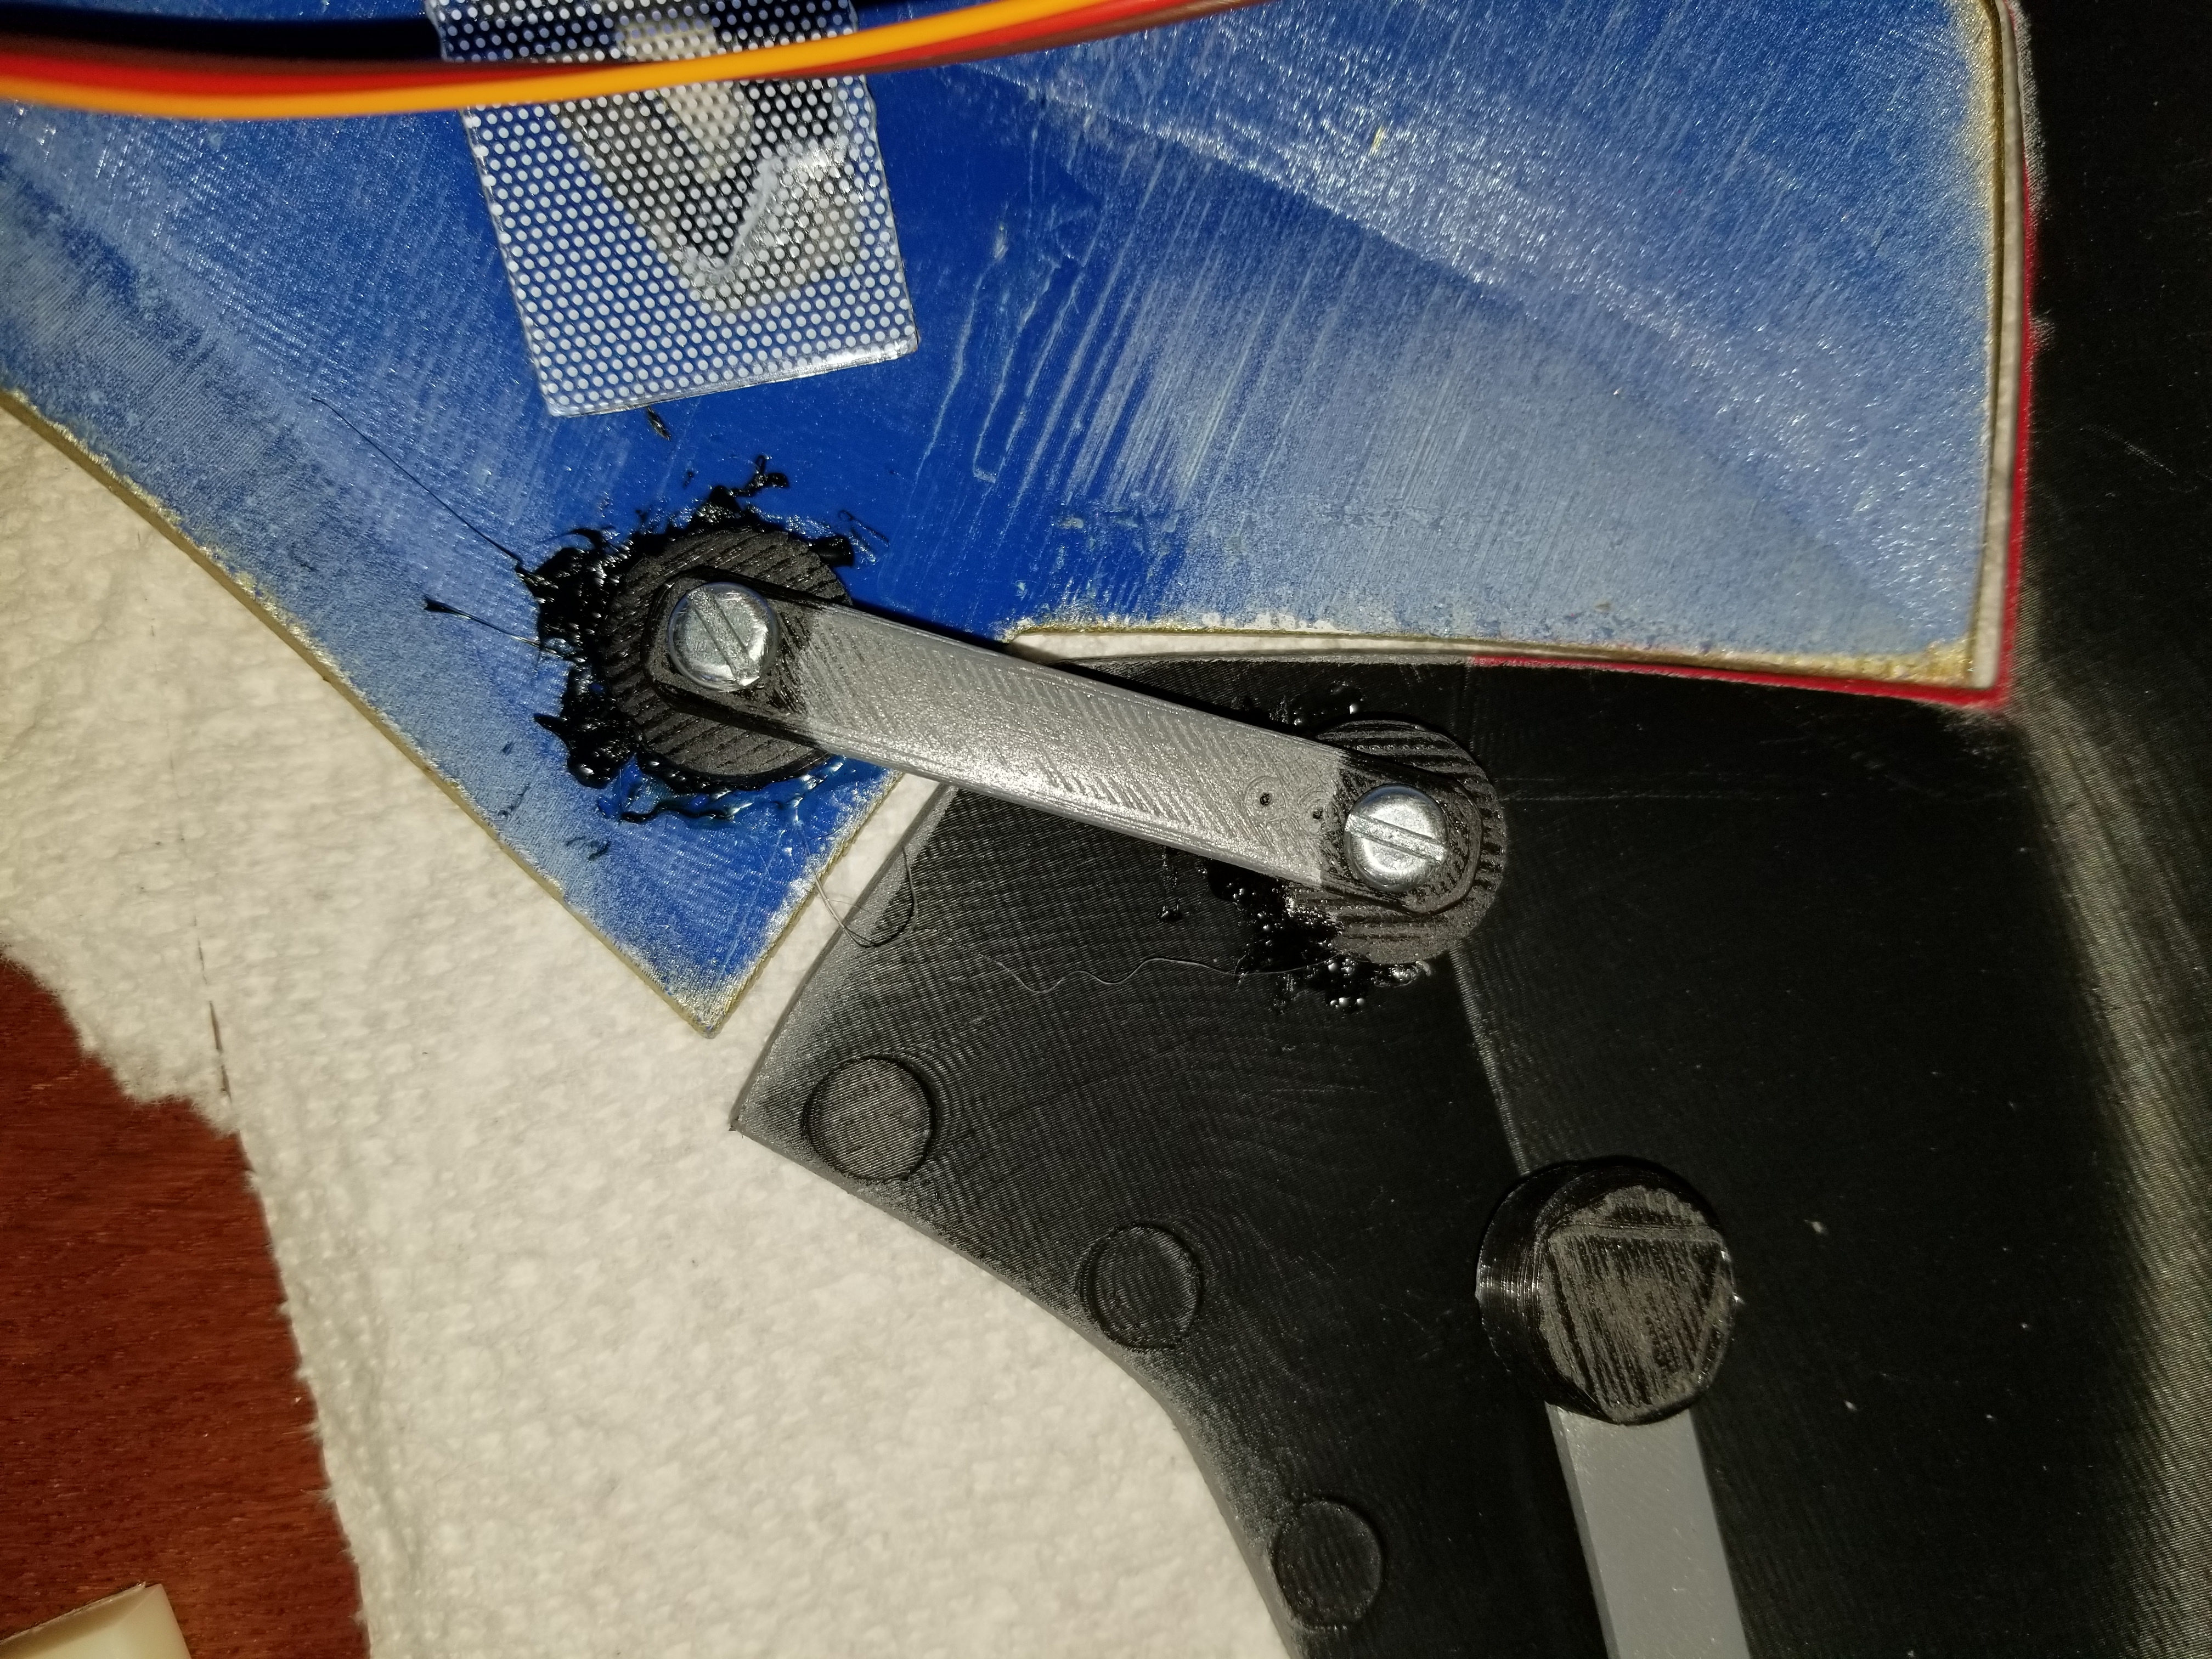
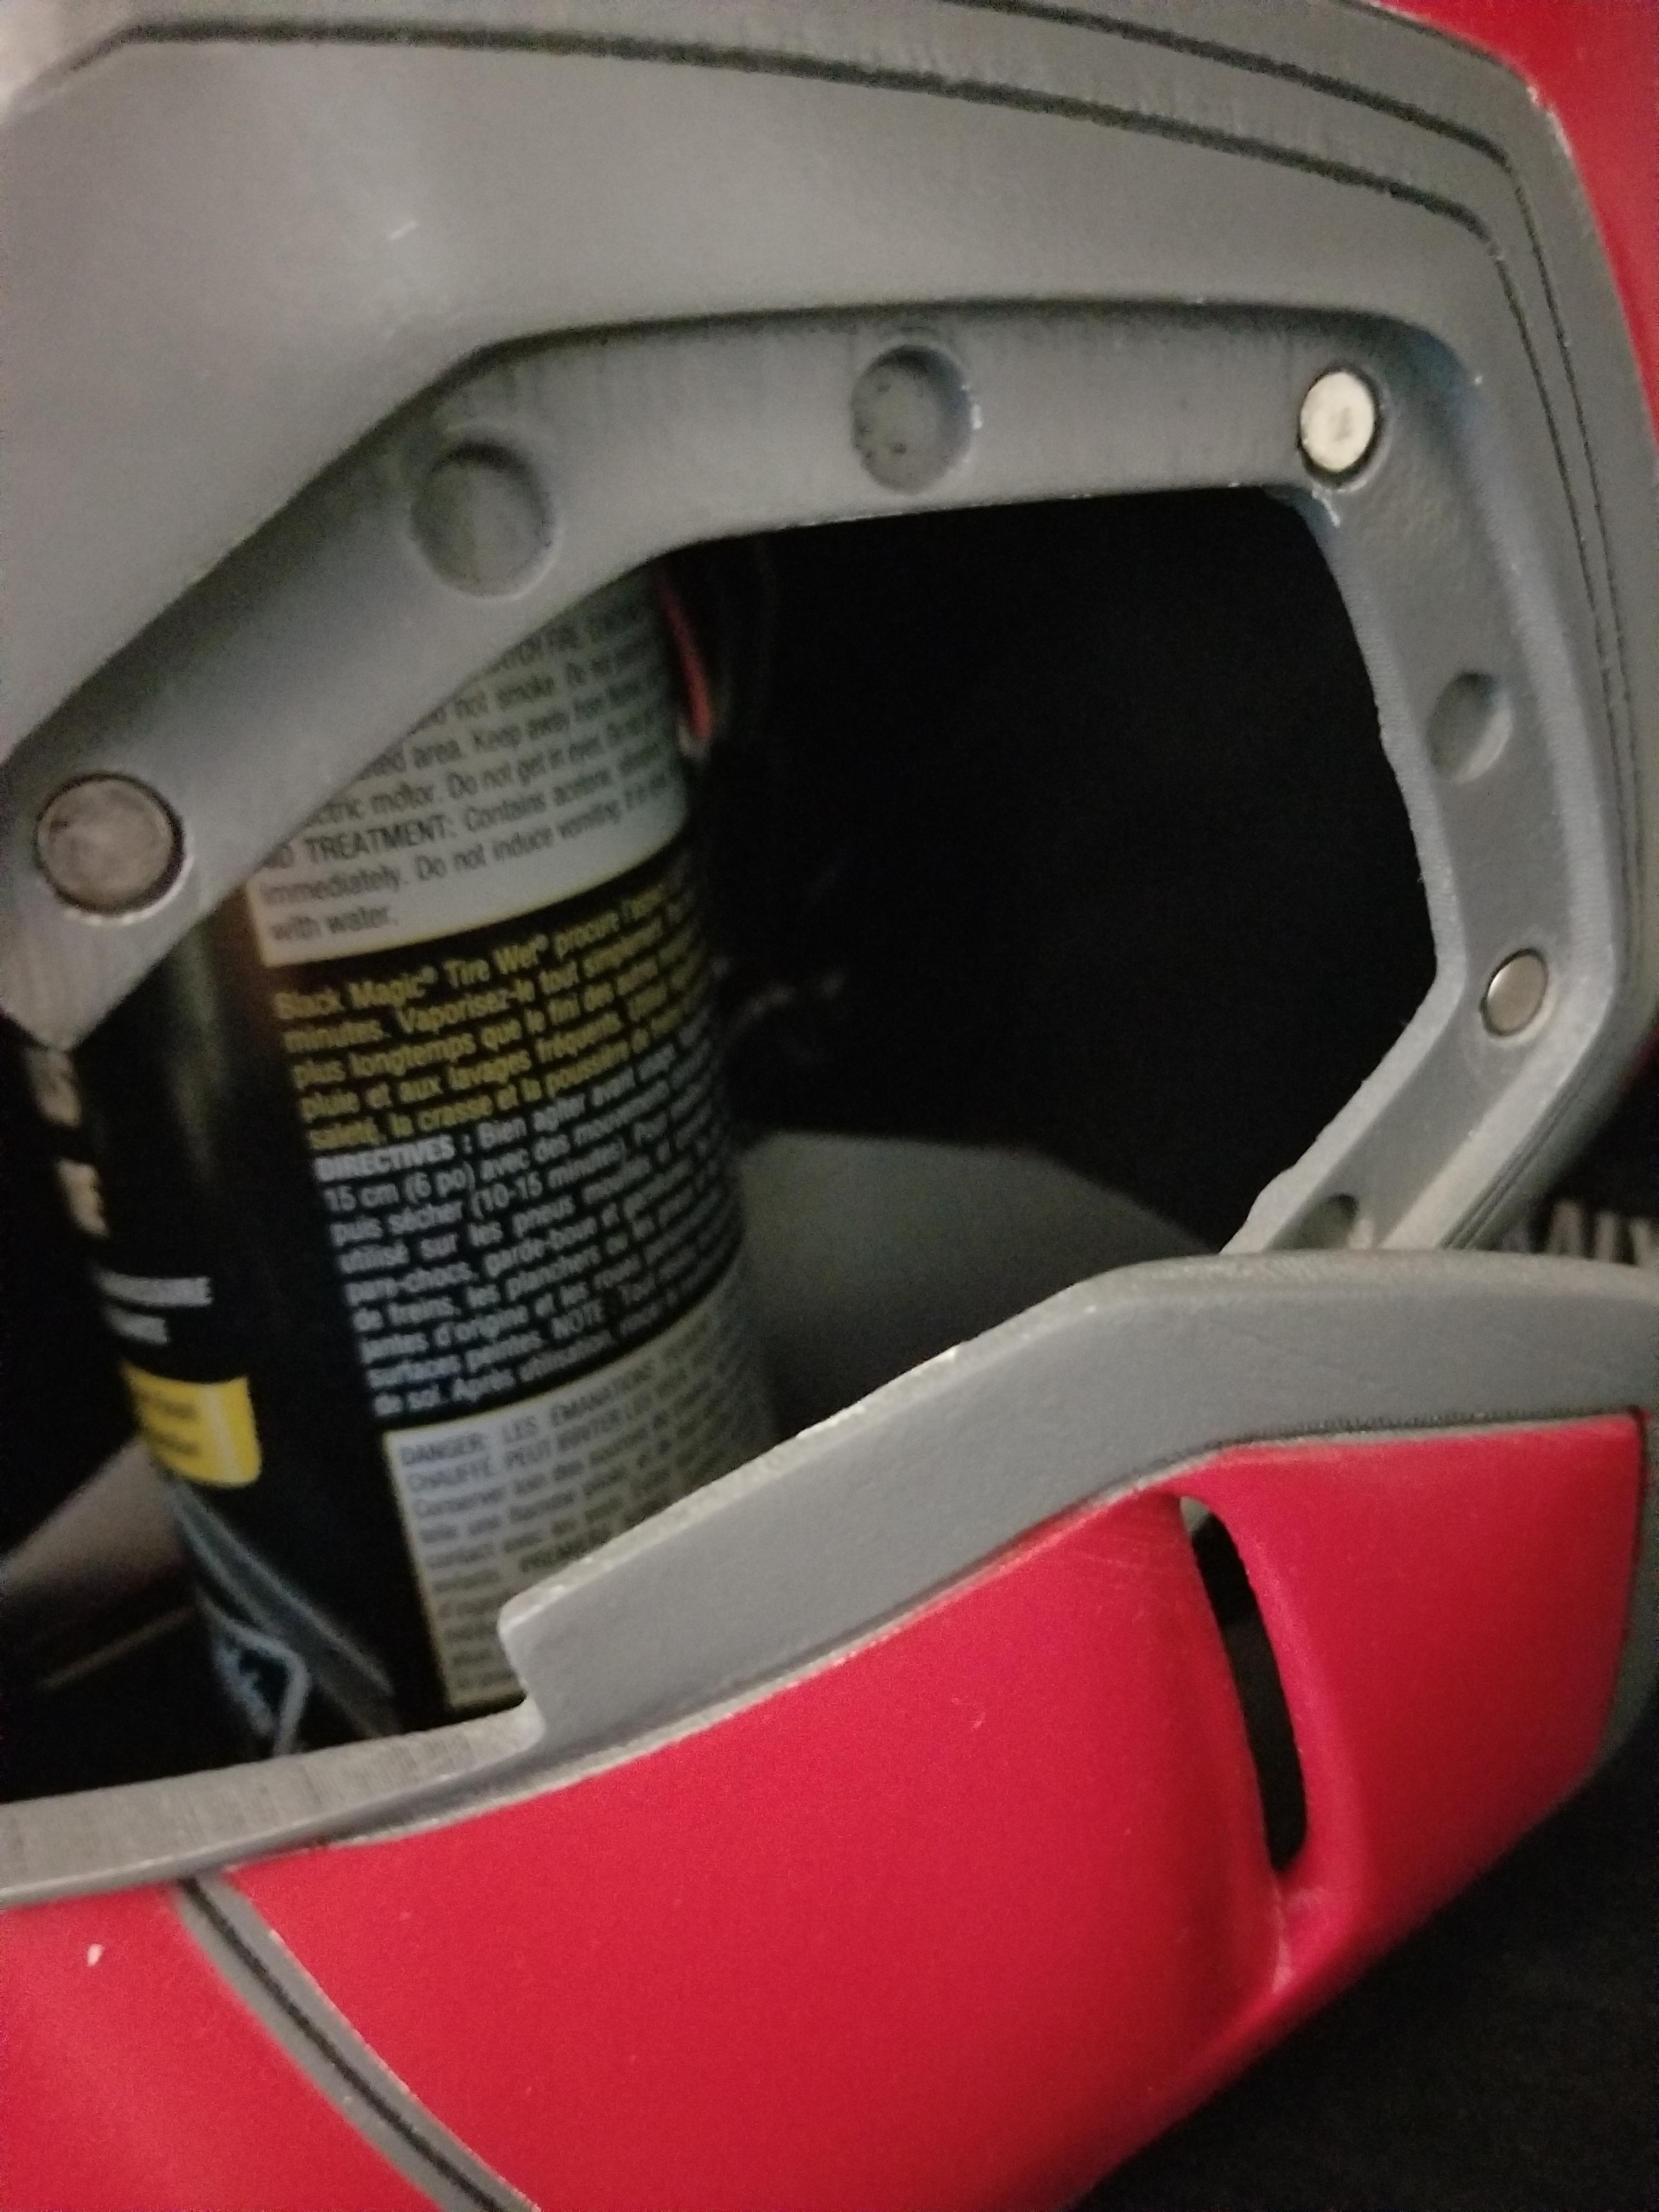
The hardest part was aligning the servo motors in the helmet peak so they would lift the mask simultaneously. The servos were PLA welded into place—a useful skill for glueing parts, repairs, and strengthening sections.
Using an Arduino Nano, I used a finite state machine to control the servo motors so that the LED eyes and motors would open and close in stages, with a button in the earpiece to trigger it. Small neodymium magnets made the jaw easy to slide on and remove.
Results
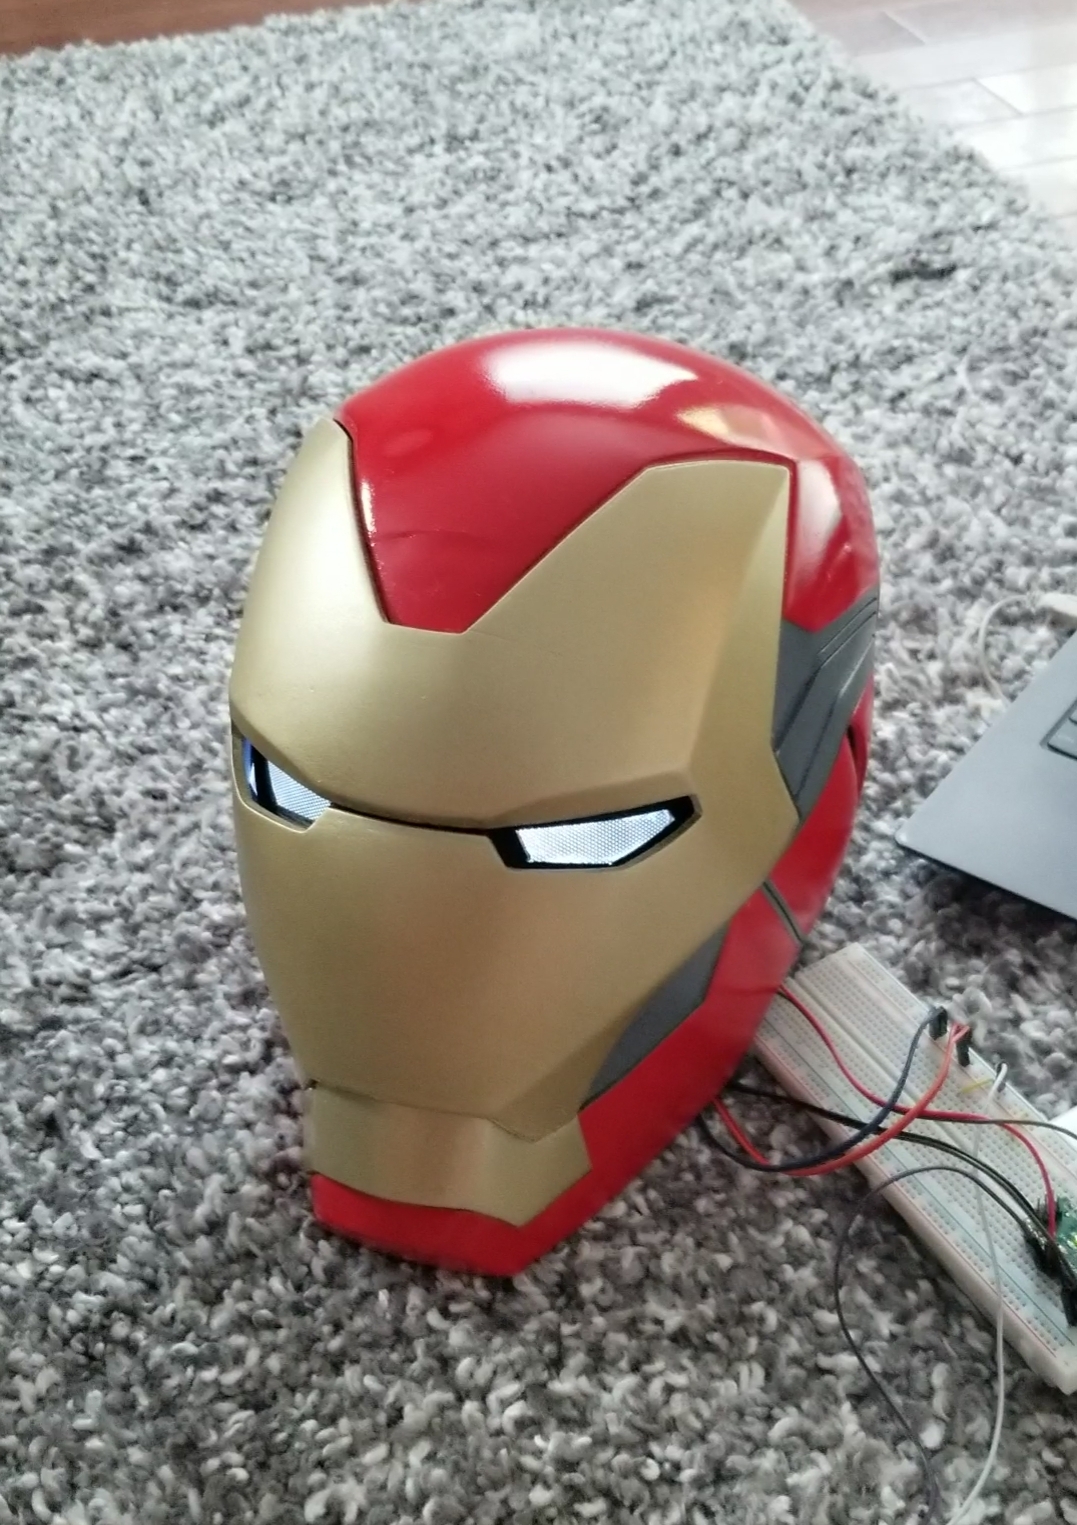
This project was done to satisfy my younger self’s dream of having a functional Ironman helmet! Though I didn’t design much myself, I had a fun time putting everything together and overcoming manufacturing challenges.